Tuesday, December 15, 2009

Project Tuesday Gift Bag


OMG...I have been slacking and not doing much of anything:( Well, I received a phone call the other night and was scolded for my "slacking"...And you know who you are:) Thanks for that because it got my butt moving. Sometimes we jsut need a swift kick in the...butt to get back into the swing of things.
I made this gift bag for the PROJECT TUESDAY GIFT BAG CHALLENGE. I think that I made it just in time. Not too sure what is going in the gift bag yet, but I know that I will give it to my sister Sylvia.

The snowglobe and the Santa Sleigh are both from the Christmas Noel Cart and embossed the globe with d'vine swirls cuttlebug embossing folder. Also added some pop-dots to make it a shaker snowglobe and filled it with Martha Stewarts Mica Flakes. I made the tag from A Childs Year Cart and heat embossed the sentiment.

DH said that it was too blue so that is why I added the irridescent pearls (not sure what they are actually called) around the top and the bottom of the bag. (I think that it looks much better in real life compared to the pic).

Thanks for taking the time to read my babbling and/or looking at my gift bag!!!

Sunday, December 6, 2009

OCC 12/3/09 Sketch Challenge

What a great way to get some of my X-mas cards done by doing some of the awesome challenges!!! I made this card for the OCC sketch challenge. Make sure to stop by and check out what everyone came up with!!! I used PDDU for the gingerbread people (they are just too cute) and used an embossing pen to heat emboss the "icing" on them, also heat embossed the snowflakes on the corners and the sentiment. The ribbon is a navy blue..not sure if you can tell from the pic. TFL!!!!!!!!

Thursday, December 3, 2009

Project Tuesday Easel Card


I thought this card was going to be a little tough to make since I have never made an easel card, but it is quite simple to do. This card also took me a few days to finish since I haven't been feeling well, oh well enough of my boo hooing. Please be sure to check out the DT's cards and all the cards from everyone who participated in the challenge HERE. Thanks for looking!!!

OCC 11/28/09 challenge

I guess that I am late at posting this card, but I haven't been feeling that well the past several days :( I was finally feeling well enough tonight to get a pic. of my card and get it posted. Make sure to stop over at OCC and check out all the wonderful cards that the DT and all the participants came up with. Absolutely amazing cards!!!!!! Thanks for looking!!!!!

Sunday, November 29, 2009

Etched Mugs


I fell in love with these mugs that I found at the Dollar Tree. I thought they would be great for hot chocolate. So I bought several and decided to etch names and snowflakes on them. They names were pretty easy to etch, but the snowflakes were a little time consuming. It seemed like it took me forever to tape around everything because I didn't want the etching cream to get everywhere it was not suppose to be. I'm really happy with how they turned out. I am just showing one with a name because there are little snoops out there, lol, and I don't want them to see one with their name on it. I really don't remember what cart I used for the names...I think that I used a few different ones, but for the snowflakes I used Christmas Noel and Christmas Cheer Cricut carts. I used design studio so that I could cut out several snowflakes at various sizes. I plan on putting spoons dipped in chocolate, marshmallows and hot chocolate in the mugs. Thanks for looking!!!!!!

Saturday, November 28, 2009

PROJECT TUESDAY POST IT NOTE HOLDER


What a super cute and super easy project to make!!! I love making these! Make sure you take a look at what the DT came up with HERE. I used the Pagoda cart for the vase and flowers (I love this cart!!!!!!). Thanks for looking!!!!!!!

Saturday, November 21, 2009

Thanks for Paper Blooms Challenge


Here's my last card for PAPER BLOOMS. I ended up making 2 since I had the paper cut...so why waste it. I'm sooooooo sad that there is not going to be anymore challenges at Paper Blooms:( I just started in the blog world not too long ago, and Paper Blooms was one of the first blog challenges that I participated in. I will miss you girls:(. Thank You to Leah, the wonderful DT and all the other participants. I really enjoyed the wonderful designs that everyone came up with for the challenges!!!!!!

Friday, November 20, 2009

GYPSY SPOT GIVEAWAY

WOW!!!! What an awesome giveaway!!!!! Make sure you head over to GYPSY SPOT and check out the great giveaway!!!!!!

Thursday, November 19, 2009

SAS Project Tuesday Peek-A-Boo Box


I thought this was a perfect sized box to put in the zipper pull watch that I bought for my sister Sylvia. It's a Peek-A-Boo, and the instructions can be found HERE. How perfect would this box be for jewlery??!! And.....so easy to make!!! Make sure to check out the DT's boxes HERE ..love them all!!!

Sunday, November 15, 2009

Thanksgiving favors


Since my Mom does most (all) of the cooking for Thanksgiving dinner, except for the pies :), (THANKS MOM!!!!!) I thought I would make some favors for everyone. I used the Wedding cart for the pillow box and the Animal Kingdom cart for the turkey. I didn't feel like cutting out and glueing down the turkeys beak so I just used a marker....lazy, lazy, lazy. For the hershey nuggets...I printed out the pics. on labels and wrapped them around the candy. The little indian girl and the little boy were only available in black/white, but who is really going to be paying attention to that, lol....they just want to eat the candy:).

Friday, November 13, 2009

Another gable box cutfile


I made another gable box cutfile, but this time I used the Plantin Schoolbook Cart. (Ug, I am having a problem with linking it to my sidebar correctly....so I am going to try and link the cutfile in this post.

Sunday, November 8, 2009

Small gable box


I am soooooooooooooooooo excited. I have been wanting to make a gable box for such a long time. Well, I finally sat down this weekend and make a cut file for one using the George and Basic Shapes cricut cart. It is tiny though...3 1/2 in. tall x 3 1/2 in. wide and 1 1/2 in. deep. I plan on making a bigger one if I can find larger sheets of paper locally.
Thanks for looking!!!!!!!
I added the cutfile to the side bar

Saturday, November 7, 2009

Color Challenge for Paper Blooms


This was definately a challenge for me, but a ton of fun trying to come up with something. Am I the only one who had a really hard time coming up with something blue, white and orange??? Everytime I tried to think of something blue and orange the only thing that kept popping in my head was a mushroom....don't know why...so that is what I went with. Make sure to check out the great work that the DT's and all the wonderful people who participated in the challenge at PAPER BLOOMS.

Tuesday, November 3, 2009

Circle Card for Paper Blooms


I think I made it in time?????? Here's my circle card for PAPER BLOOMS circle card challenge. I finally got to use one of the wonderful butterflies that I won from Leah at Paper Blooms!!

Triangle Box for Project Tuesday


I made the Triangle Box for the PROJECT TUESDAY blog. I had so much fun making this box. I plan on making many more for the holidays. They are so easy to make and they are just tooooooo adorable! Make sure to check out all the projects from the DT at PROJECT TUESDAY.

CONGRATS Rose for being the November Guest Designer!!!

Sunday, October 25, 2009

Pillow Box Treat Bags


I found out how to make these cute pillow box bags over at SCS. These are for the my sister, nieces and nephews. They are a nice size when finished so they are packed with treats.

Carts I used:

Wedding for the pillow box
A Childs Year for the witches
Indie Art for the spider
Paper Doll Dress Up for the spider web and the pumpkin

Sunday, October 18, 2009

Halloween


Just a few cards that I made for my sister, nieces and nephews. I ended up making 6 total....2 of each.

I used the Paper Dolls cartridge for the monster and the ghost, and Lyrical Letters for the spider, along with Martha Stewart drippy goo punch and Stampin Up sweet treat cups and stamp.

Thank You ...S.U. Sweet Treat Cups


Well...I have been told that my blog is getting cobwebs because I have not been posting much, LOL, and you know who you are :)...so I thought that I better whip something together. Thanks for the reminder and make sure you keep reminding me because you know that I am such a slacker :) Hopefully with the weather changing...I will start making and posting a little more often.
I don't want to say who they are for, but one is for a someone loves sixlets, so that is what I put in the sweet treat cups. I guess I can say who the other is for since he doesn't come on my blog. It's for my brother Jeff. He recently gave me something that he knows I just love so I wanted to make him a little thank you card.

The only cricut used was for the flower. I used George and Basic Shapes Cart. I cut the flower petals and glued them around the Sweet Treat Cup. Oh, and I have a really tiny Thank You stamp that I used to stamp on the petal. The flourish and the leaf are from the Home Decor
Cart.

Sunday, October 11, 2009

Autumn gift bags

WOW...I know it's been a while since I posted anything, but between my dog Shep having problems with his ear for about a week and then it was my turn to have problems with my ear, which I am now taking antibiotics for, I just wasn't felling well enough to sit and make anything.

Friday night I decided to make these treat bags for my SIL who was having a candle party on Saturday. I made 20 of them. And...not that I am patting myself on the back or anything :), but I think that these treat bags turned out soooooooooooooooooooo cute.

Cricut carts that I used:
Tags, Bags, Boxes and More for the treat bags
ACY for the cat
Pooh and Friends for the pumpkins.

I think that the ladies really enjoyed them. I filled them with dove candies and candy corn taffy.


Sunday, September 27, 2009

A couple cards for a Baby Shower

Here's a couple cards I made for my DH's cousin who is due to have her 1st baby on Christmas Day. One card is from me and one is going to be from my MIL.

I made the "BABY" blocks with the New Arrival cricut cart. I love the little buttons that I added!! I was going to emboss the blue part of the card, but I thought that might make it look too busy.

I also used the New Arrival cricut cart for those cute little baby feet on the 2nd card. I finally used the Fabulous Finds cricut cart, which I never use, for the "plate", where I heat embossed the "BABY" stamped image.

I haven't put anything on the inside of the cards yet. I think that I am going to print something on vellum...not too sure though.

Thanks for looking!!!!!!!! All comments are appreciated!!!!!!!!!!!!!!!!!


Sunflower Thank You

WOW...I didn't realize it has been almost 2 wks. since I have posted anything. I planned on posting this card last weekend until I had an emergency with one of my dogs, Shep. He apparently was stung by a bee on Sunday. That evening both of his eyes were swollen/puffy. DH took him to the Vet Hospital around midnight. Of course by the time Shep got to the Vet the swelling was gone. So they told DH to give him some benadryl. It has been something new with Shep everyday this past week.

So here it is...Hope you like it! And....Thanks for looking! All comments are appreciated!!!!!!!

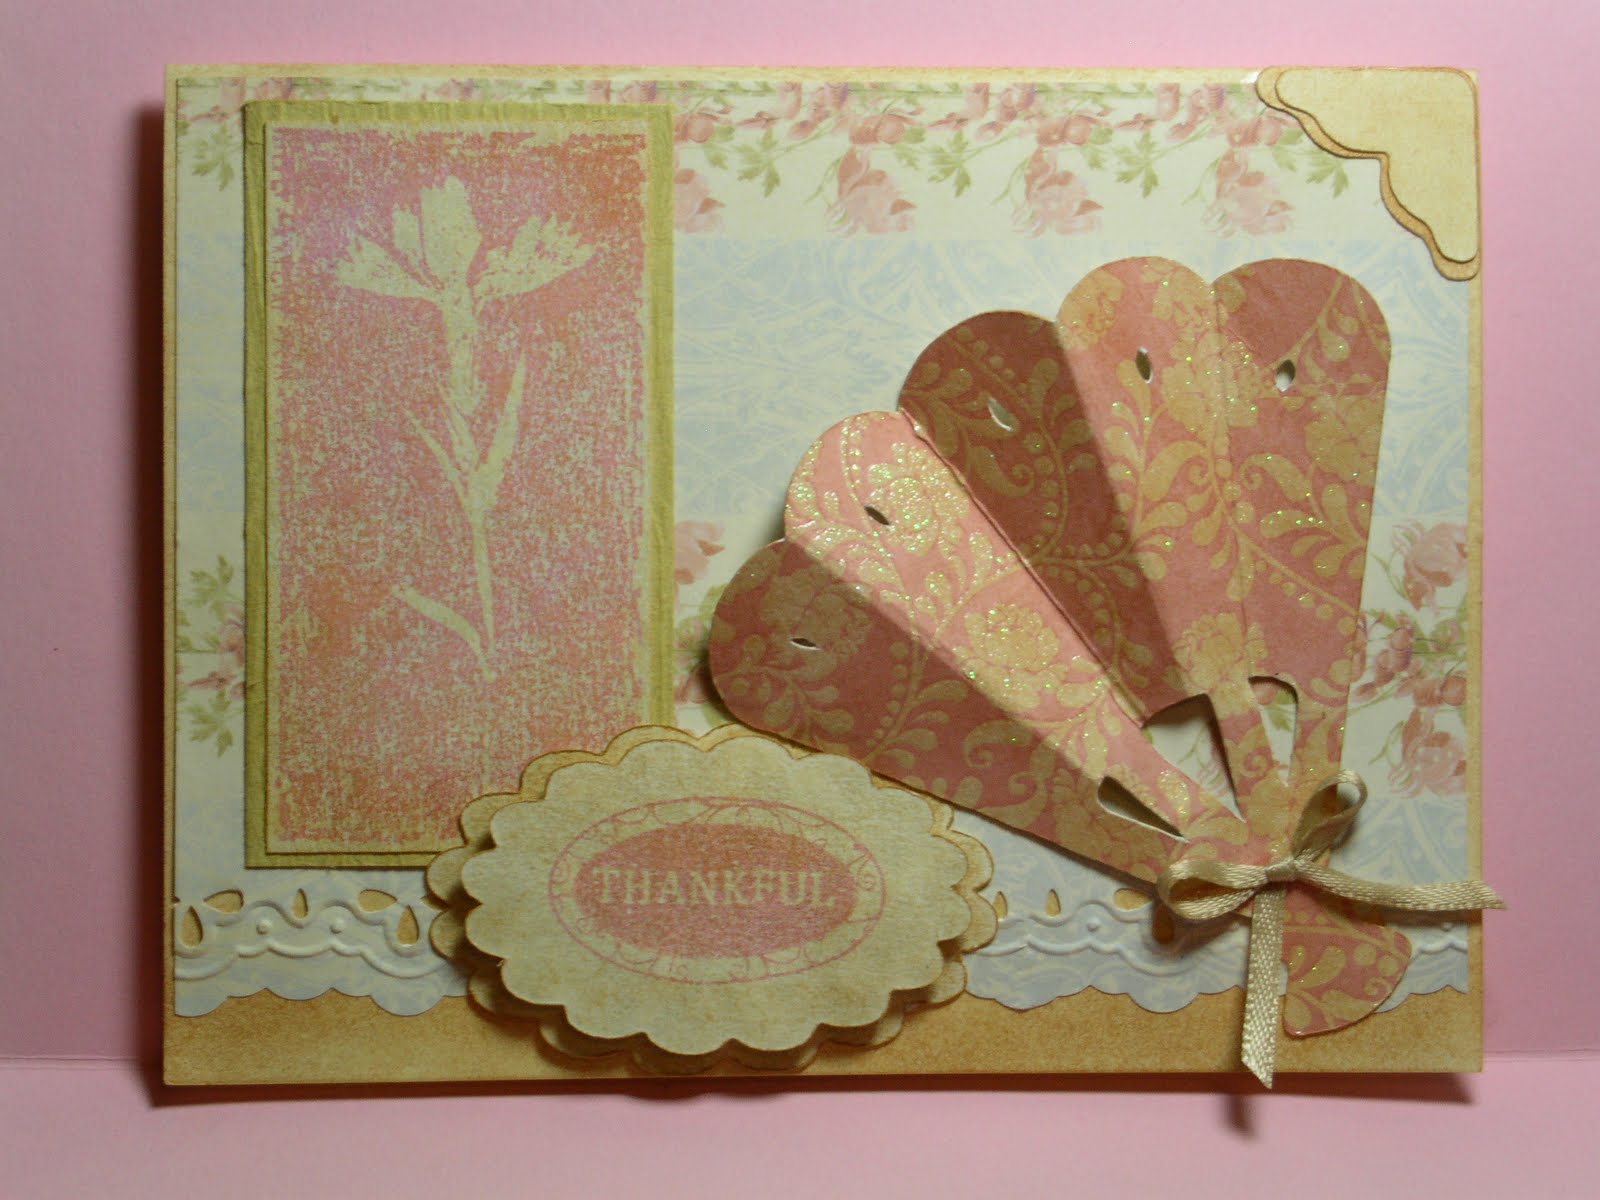
I cut the scalloped circle 3 times using the Mini Monograms cricut cart. Two of the cuts are with cardstock and the top cut is with vellum. I stamped the image on vellum. I also used the Swiss Dots cuttlebug folder and a fiskars effervescence paper punch. I then used a small sunflower stamp for inside of the card.

Tuesday, September 15, 2009

Look what I got in the mail today!!!


I was sooooooooo excited today when I got home from work because I received my goodies from Leah at PAPERBLOOMS. They are even more beautiful when you see them IRL. Leah makes these herself and you can purchase them HERE . Make sure you check out her blog!!! Thank You soooooo much Leah, I LOVE THEM. I can't wait to use them!!!

Sunday, September 13, 2009

Birdie Thank You card


This is one of the few Thank You cards that I made this weekend. I use the Mini Monograms cricut cart for the scalloped square, Jasmine for the corner and one of the cuttlebug border embossing folders. I think the stamped image is a stamp that I bought a J's. Not too sure where I got the "Thanks so much" stamp....I think it might be from J's also. Although you can't really tell from the pic (I take horrible pics of my cards) I did heat emboss the "Thanks so much" stamp. Well....TFL!!!!!

Thursday, September 10, 2009

Paper Blooms B.L.I.N.G. challenge


I am not all that thrilled with how this card turned out, but it's ok. Did you ever have a card pictured in your head and then it just doesn't turn out the way you thought it would??? Well...this is one of those cards for me:(.


I did this one for the B.L.I.N.G challenge over at PAPER BLOOMS. Make sure you stop by to check out all the wonderful cards the DT comes up with, and be sure to join in on the challenges!!!


Thanks for looking!!!!!!!!!!!!!!!!!

Wednesday, September 9, 2009

What an Honor!!!!!!!!!!!!

I just want to say THANK YOU sooooooooooooooo much to everyone at PAPER BLOOMS. I truly feel honored that I was chosen for this weeks "featured artist". How exciting for me!! What a very friendly and welcoming group of women!!!!! Make sure you stop by PAPER BLOOMS blog and join in on the challenges.

I copied and pasted this from the blog!!!! Make sure you check out all of the awesome work that they do!

This week's featured artist is Kim S. with her very creative take on "It's a Flower, but it's Not!". She made little prima flowers into butterflies. Take a look at her beautiful card. Please email me your addy and I'll send you out some Paper Blooms goodies:)

Tuesday, September 1, 2009

Our Creative Corner Sketch Challenge


I made this card for the OUR CREATIVE CORNER SKETCH CHALLENGE. Actually I made a set because I am giving them to my MIL so she can use them for Thank You cards. The ribbon looks black in the picture, but it is a dark brown. I fell in love with the rubber stamp that I used. I stamped it with brown and then chalked everything else. I love to use chalk, but it's sooooo messy sometimes.
Anyway, Thank you Rose for getting me hooked on the blog challenges:)!!!! I just wish I had more time to spend on my cards.
Thanks for looking!!!!!!!

Sunday, August 30, 2009

Paper Blooms "It's a Flower, but it's not" Challenge


Here is what I came up with for Paper Blooms Challenge. I don't have any of beautiful crocheted flowers/butterflies that she sells on Etsy..yet, so I used prima flowers, ribbon and stickles for the butterflies. Thanks for looking!!!

Wednesday, August 26, 2009

Shyla loves corn on the cob!!!!!

I was obviously bored tonight, and really don't have time to make a card or anything...so I thought I would add a video. I don't know why, but it just cracks me up that my dog Shyla loves corn on the cob. I know.....silly, but I was bored at the moment. Hope you enjoy the video!!! TFL

Saturday, August 22, 2009

Chicken/Roosters (PaperBlooms Home Decor Challenge)

I finally made a few things this weekend!!! It's just a little gift set for my Mom and Stepdad (No looking Mom!). I used Animal Kingdom for all the chicken/roosters.

For the candle...I stamped chicken images on tissue paper...placed it around the candle with wax paper..then used my heating gun to melt the stamped tissue paper onto the candle.

I finally used my BIA to make this notebook. I made the bookmarkers using the Animal Kingdom cart. I thought the bookmarkers where too flimsy so I added a layer on the back and then laminated them. I also made a couple post-it note holders. I need to buy some pens for them. The ones that are in the pen/pencil slots don't match, but that is all that I have available right now.

The chicken/rooster bag is computer generated. Several years ago I bought 3M Printscape Personalized Gift Bag Kit. I bought it at Big Lots for $2.00. It came with a everything you need to create 5 gift bags...the paper for the bags(close to cardstock thickness), string for the handles, double sided tape, and the computer program to design a personalized gift bag. I finally decided to pull it out and use it. I might have to make a cricut file for this size bag. The size of the completed bag is 3 3/4L x 3 3/4W x 7H. I can't believe that I have had this and haven't used it sooner....oh well.

This last pic. is just everything together.

If you have any questions let me know! P.S.......I LOVE COMMENTS!!!!!! Thanks for looking and/or commenting!!!